Takeaways on HDRP's Ray Tracing from LEGO Builder's Journey
My Capstone project is currently using Unity’s High Definition Render Pipeline. As the graphics programmer on the team, I found this talk very informative of showing me some good ways of taking advantage of the pipeline. It also covers the ray tracing technology introduced in the pipeline as well. Though we won’t be using ray tracing in our project, it is still great to learn the solution to show the best result for each render feature. The talk also covers the way how NVIDIA implements DLSS into the render pipeline to enhance this final game project.
Table of Contents
- 0. References
- 1. Background
- 2. Lighting Setup
- 3. Using Ray Tracing in HDRP
- 4. Other Features in HDRP
- 5. Closing Thoughts
- 6. DLSS and Unity Implementation
0. References
- LEGO Builder’s Journey: Rendering Realistic LEGO Bricks in Unity | SIGGRAPH 2021 - A talk on how developers at Light Brick Studio rendered lifelike LEGO dioramas in real-time using Unity’s High Definition Render Pipeline (HDRP) and the latest graphics capabilities such as ray tracing and Deep Learning Super Sampling (DLSS).
1. Background
1.1 Platform Versions
The game has been made using Unity 2021.1.6f1. The version on the Apple Arcade/Nintendo Switch platforms uses a custom version of the URP pipeline; while the version on PC uses a custom version of the HDRP 10.3.1, along with NVDIA’s DLSS technology.
1.2 Materials
To simulate the materials used in real-life LEGO bricks, the developers made three types of materials in Unity - glossy plastic (most), metallic plastic, and transparent plastic.
2. Lighting Setup
2.1 Daytime Manager
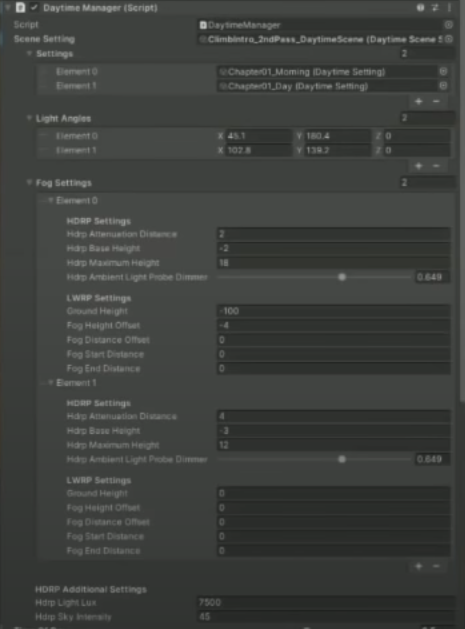
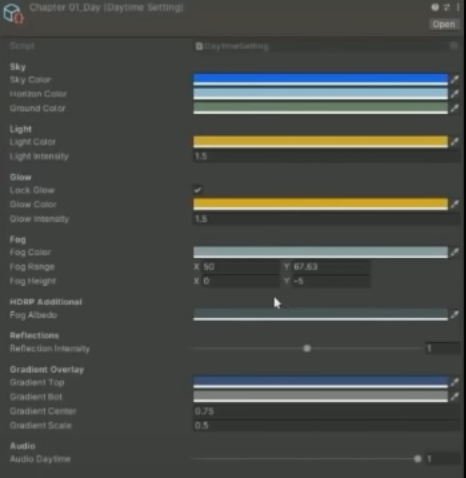
Most of the games scenes are lit with a mix of artificial daylight and some fake studio lighting - all controlled by the daytime manager. The daytime manager handles the primary light, sky, and fog settings, and it also uses some daytime setting presets in order to get the best looking results.
2.2 Build Order Asset
2.3 Principles in Process
- Fast iteration
- Everything should be as fast to work with as possible.
- Keep everything editable
- Don’t bake anything
- Almost only do optimizations when you press play in Unity.
- Automate as much as possible
- The machine should handle all repetitive or non-creative tasks.
- Should spend time on making rather than waiting.
- Real time all the time
- Ray tracing is a great fit for the game.
3. Using Ray Tracing in HDRP
3.1 Ray Traced Reflections
3.1.1 Takeaways
- Ray traced reflections work for smooth and shiny bricks.
- Screen space reflections, in the game’s case, work very well. However, in most other cases, it is a lot less precise.
- Denoiser can blur a lot of details if ray traced reflections are used for smooth surfaces that have various small details.
3.2 Ray Traced GI & AO
3.2.1 Key Benefits
There are a few benefits of using ray traced GI/AO over the old screen space effects.
- The things that are not visible from the viewpoint can stil be captured.
- The difference is a lot more subtle from reflections, but it is good to get the correct bounced colors.
3.2.2 HDRP Settings
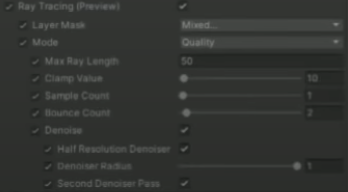
The denoiser has been increased to the max settings, otherwise, some high contrast noise wtih fast/slow moving objects will be obtained, especially in low light scenes.
3.2.3 Takeaways
- Ray traced GI works well even with a lower sample count (only need 1 SPP). If the denoiser is turned to max settings, it will still really good results.
- Screen space GI is a good fallback when ray tracing isn’t available, but it’s lower quality and it’s at least as heavy to render as the ray traced version, sometimes even more so.
- Baked GI’s static and low resolution, it is suggested to be used when ray traced GI’s turned off. It can also be used in the ray tracing passes to simplify computation. Therefore, it’s important to have baked GI in the scenes as well (live probes).
3.3 Ray Traced Shadows
3.3.1 Comparison with Shadow Map Techniques
- As objects get far away from the camera, CSM are not a great fit due to a loss of details.
- Enabling the contact shadows helps a little bit when the ray traced shadows are turned off. However, they have a sharp transition, and as a screen-space effect, it produces incorrect shadows in some cases.
- Ray traced shadows make great results from the sharp tip to soft penumbra, and it can capture the micro shadows between bricks.
3.3.2 Takeaways
- Most of the shadows come from the sun which is rendered using the directional light.
- Ray traced shadows are turned on per light, and only for the primary directional light.
- Use 1-4 shadow rays per pixel dependent on quality setting selected in the game.
- Denoising should probably be disabled for shadows due to some ghosting results when turned off.
- Temporal antialiasing (TAA) and DLSS take care of eliminating the noise.
3.4 Subsurface Scattering
- Ray traced SSS is more correct, but according to the developer, it needs a very high SPP to eliminate noise and comes with a big performance impact.
- The game sticks to the non-ray traced version which works fine.
3.5 Ray Traced Transparency
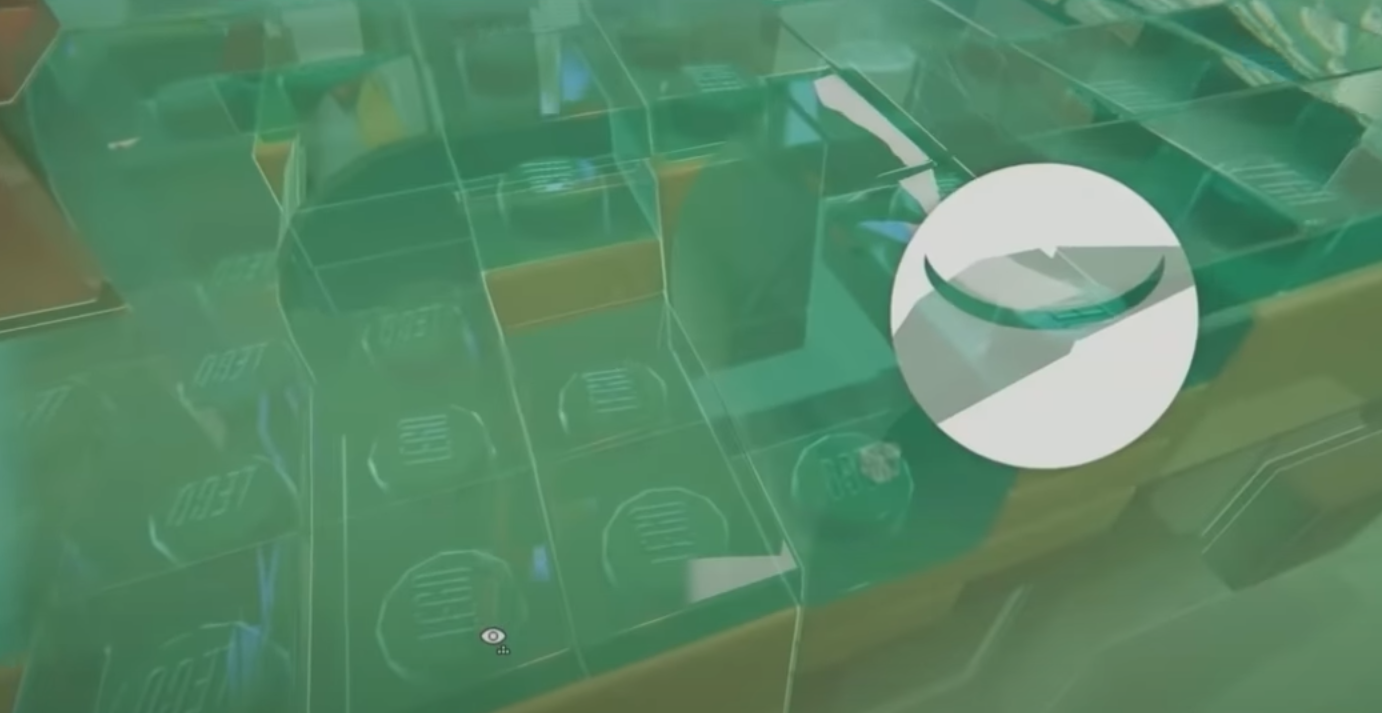
3.5.1 With Ray Traced Reflections
- Rendering transparency with ray traced reflections doesn’t give the brick the internal geometry in order to make the game look real.
- This is because the renderer does a depth pre-pass to support the ray traced reflections.
- Only the top surface of the Lego bricks are obtained which is not enough to make scene look realistic.
3.5.2 No Ray Tracing
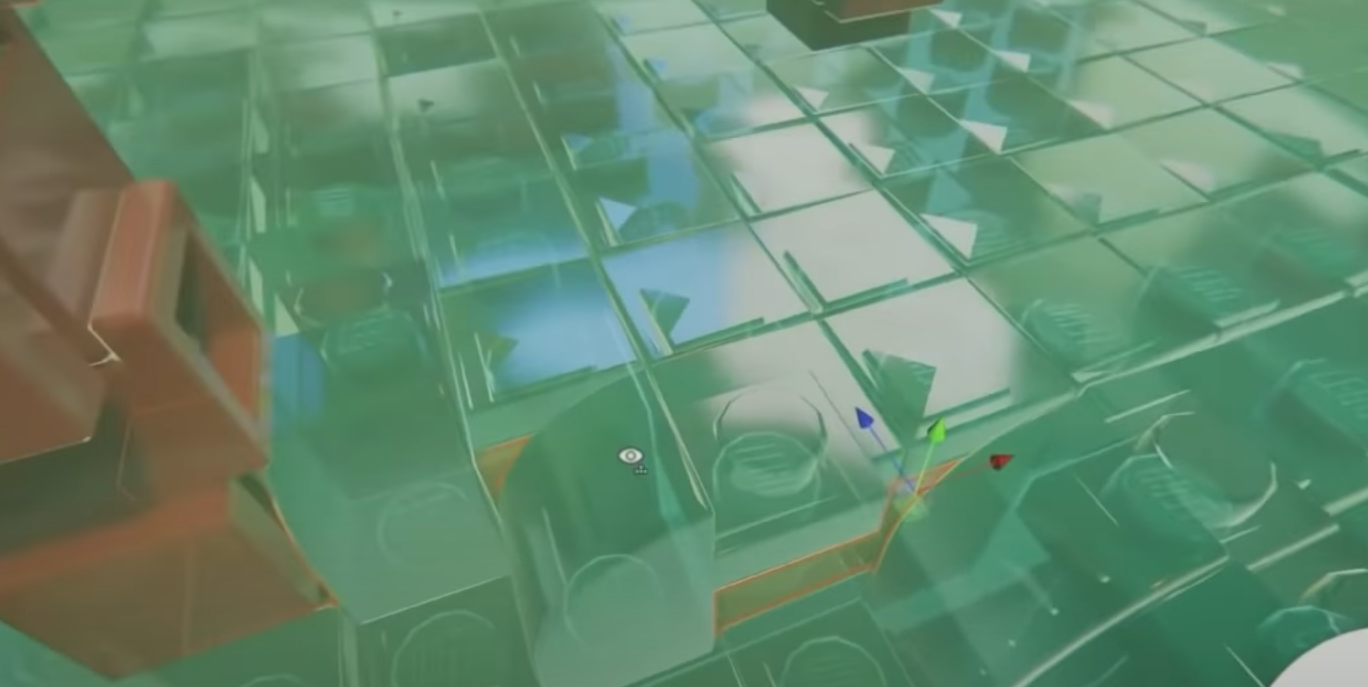
- Turning off ray traced reflections + sorting/shading properly
- Can show the internal polygons, yet with the loss of nice ray traced reflected surfaces.
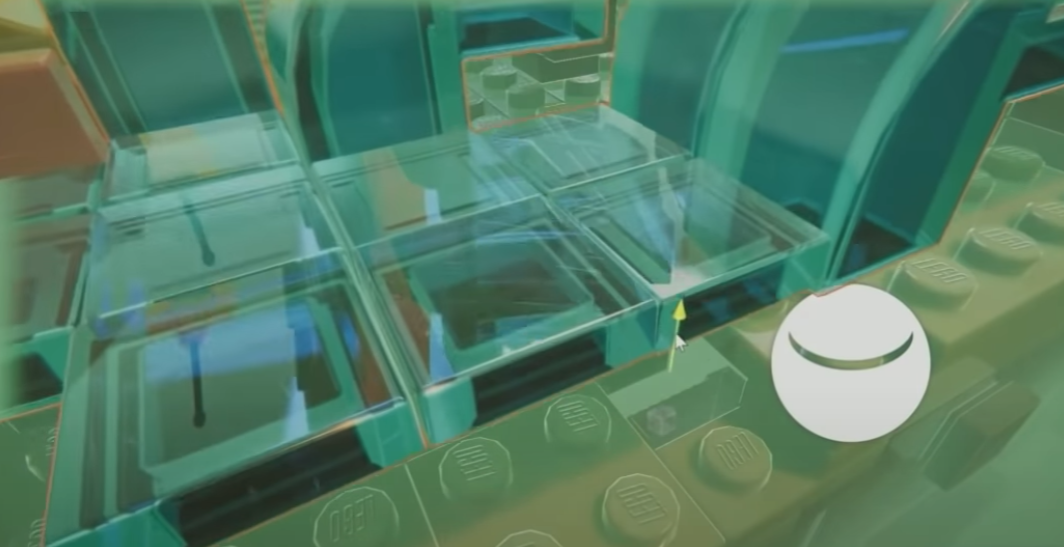
3.5.3 Recursive Rendering (Iterative Ray Tracing)
- Will lose GI inside the bricks or in the refractions through the bricks.
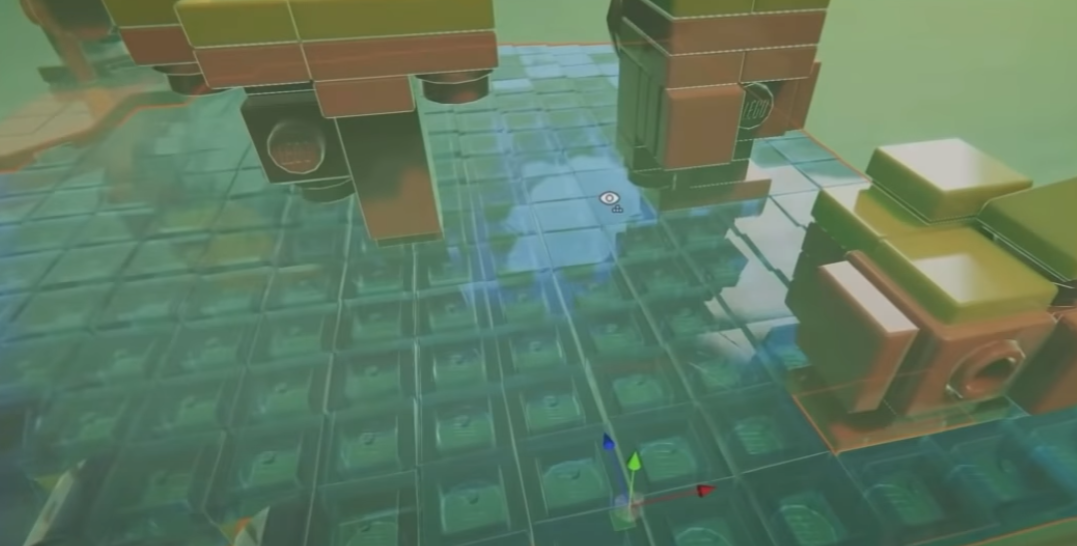
3.5.4 Ray Marched SDF + Ray Traced Reflections (Final Solution)
Short Version:
- Raymarching a signed distance field (SDF) of each brick to compute refraction as well as capturing a very simplified version of reflections from the inside of the brick.
Complete breakdown of each step:
- The developer program the pipeline to rasterize the front phase of bricks, and for every pixel that gets rendered with ray-marched SDF with up to 8 reflections to compute the color density of the transparent plastic.
- The pipeline also computes a single reflection from a number of combined reflection vectors inside the brick.
3.5.5 Takeaways
- Definitely not physically correct, but does give a good illusion of interior of the brick.
- HDRP handles the top surface reflection with ray tracing enabled to sell the effect.
- SDF’s are mathematically defined per brick.
- The limitations are that it only simulates a single brick and internal reflections are simplified greatly, yet it does look convincing enough from a distance.
4. Other Features in HDRP
- Depth of Field
- Bloom
- Exposure
- Fixed exposure
- Makes lighting the scenes a lot easier than having dynamic exposure.
- Toggleable effects
- Film Grain
- Chromatic Aberration
5. Closing Thoughts
- HDRP works 95% out of the box.
- Don’t have to do a lot of things to produce the desired results.
- Ray Tracing features are great (even in preview).
- Have the benefit of working with small scenes and few materials.
- Don’t know if it scales to more complex scenes.
- Shader Graph is an acquired taste.
- The custom function is handy.
- Settings Overload
- Placed in a number of different locations that it takes hard time to figure out where everything is.
- Having access to the code base is helpful to track down an issue.
6. DLSS and Unity Implementation
6.1 Solution for Adding DLSS
- NVIDIA’s solution is to produce a plugin that allows direct communication with DLSS.
- Basically a binding between the DLL for DLSS and C#.
- All the logic is in C#. The DLL is a very thin plugin to get access to the DLSS.
6.2 Changes to the Scriptable Render Pipeline (SRP)
6.2.1 Background of DLSS and HDRP
- HDRP 10.3.1
- DLSS requires a lower-resolution initial render, and after it’s done its upscale and increase in quality, then everything is the final resolution.
- No changes to the Unity editor/player.
- Flexibility of the SRP and the plugin support in Unity
6.2.2 Color Buffer
- Low resolution color buffer
- Jittered
- Sub-pixel jitter that is very similar to TAA.
- Used the same parts of the SRP for jittering the color buffer as are used in TAA.
- Just increased the number of actual samples that are within that.
6.2.3 Motion Vectors
- Unity provides motion vectors straightforwardly.
- They are unjitterred,
- Need to notify DLSS that the color buffers is jittered, but the motion vectors are not.
6.2.4 Depth
- The depth on Unity is slightly different on the PC than it is on other platforms.
- Depth goes from 1 at the near plane to 0 at the far plane.
- DLSS has the functionality to support this.
6.2.5 Insertion Point
- The DLSS is inserted just before the post-processing step.
- Everything is rendered at the lower resolution.
- DLSS is applied.
- All of the post processing effects are at full resolution.
6.3 Issues during Implementation
- Most issues were initial implementation problems.
- Need to make sure the motion vectors are the right scale, and are in the right directions.
- Unity renders its images from bottom to top.
- Until the final composite in Unity, everything is facing upside down.
- Need to invert the motion vectors in terms of Y component.
- In DX12, it was noticed that there was some significant flickering which wasn’t precedent on DX11.
- Narrowed down to the use of the command buffer, plugin event, and data.
- In Unity, all the data is transmitted to the renderer straight by either plugin events or plugin events and data. That ensures that the client and worker are fully, properly synchronized and in order.
- The only exception to that is that between Unity 2019.4 and Unity 2020.2, when you send a plugin event and data, it would not flush any existing command lists.
- Solution: Insert a last plugin event which would flash the command list after all of the plugin events and data.
- The quality was not good with the texturing.
- Came down to the use of mipmaps.
- Need to ensure the mipmap bias is set accordingly so that the textures for a fully reconstructed screen would have the same quality they would at a high resolution.
- Solution: Iterate over all the textures and then set the mipmap bias on the textures. (Simple and scriptable work in C#)
- Shader Graph can take in explicit samplers which don’t have control over the mipmap bias.
- Solution: Use the implicit samplers attached to textures.